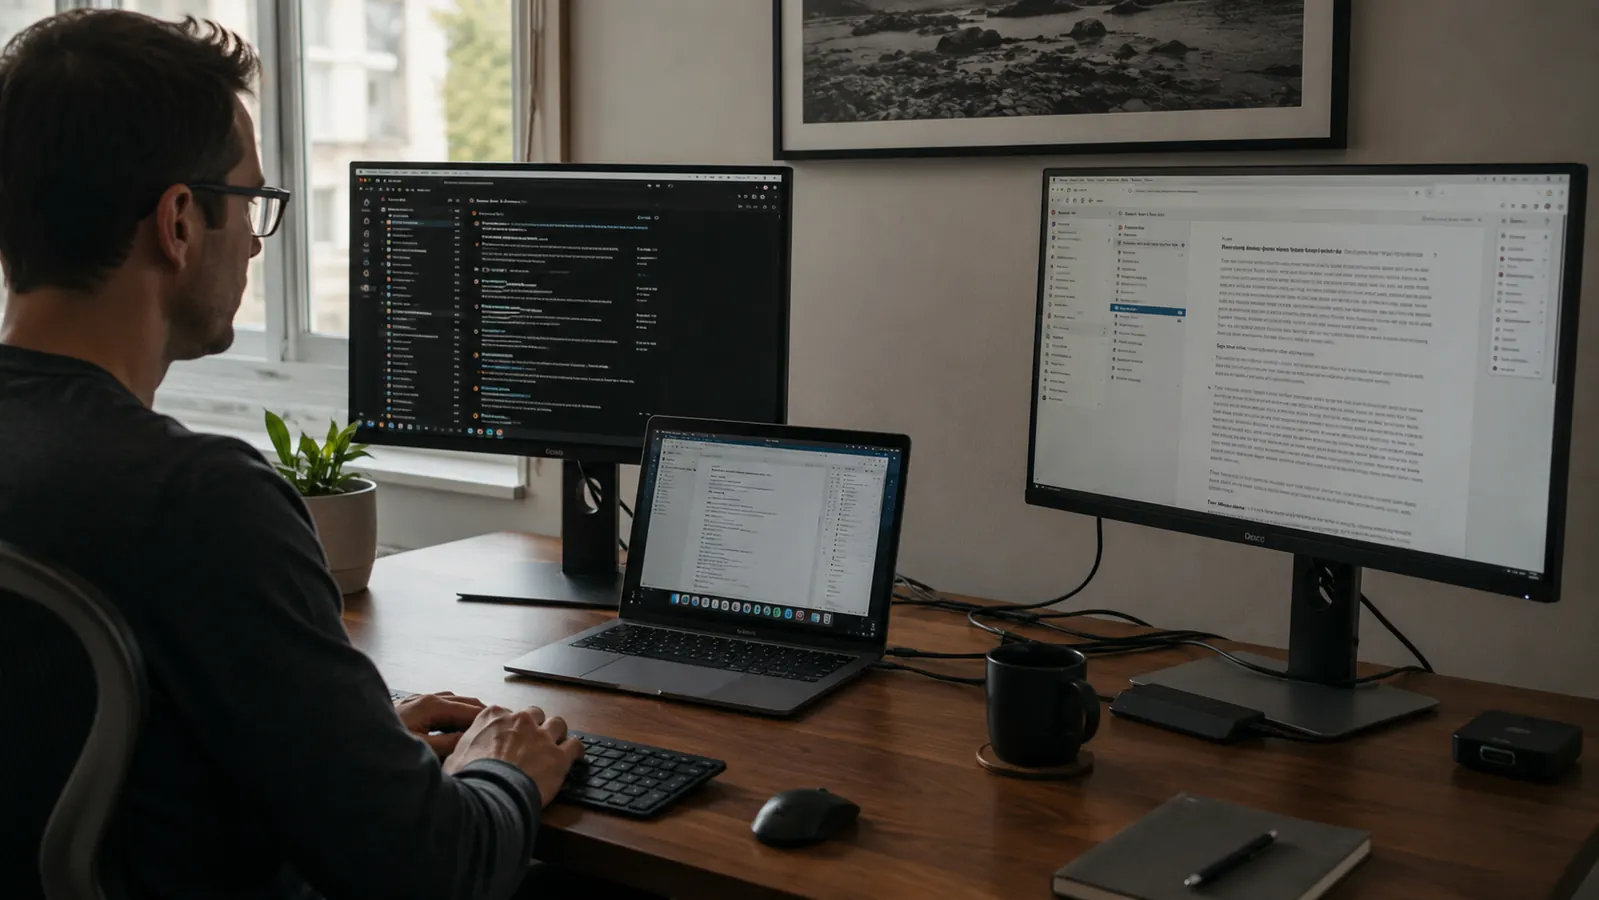
You bought a new laptop and it has two USB-C ports. Maybe one is Thunderbolt, maybe both are. Either way, you sit down at your desk and realize you now need to connect a monitor, a keyboard, a mouse, an SD card from your camera, and keep the laptop charged at the same time. With two ports, you cannot do all of that without some kind of hub. This is the exact situation tens of thousands of home office workers run into every year when they upgrade to a modern slim laptop, and it trips people up more than it should because the terminology is genuinely confusing. DisplayPort Alt Mode, Thunderbolt 4, USB4, power delivery pass-through -- these sound like specs for engineers, but understanding them at a basic level is what separates the people who get it working in ten minutes from the people who spend an afternoon frustrated.
This guide walks you through the whole process: what to check on your laptop before you buy anything, which hub to get, and then step by step how to connect a monitor, keyboard, mouse, SD card reader, and laptop charger all through a single USB-C hub. The recommended hub for this setup is the Hiearcool 7-in-1 USB-C Hub, which has over 51,000 reviews on Amazon and covers every port you actually need for a home office without costing more than $20. It works on Mac, Windows, and Chromebook without any driver installation.
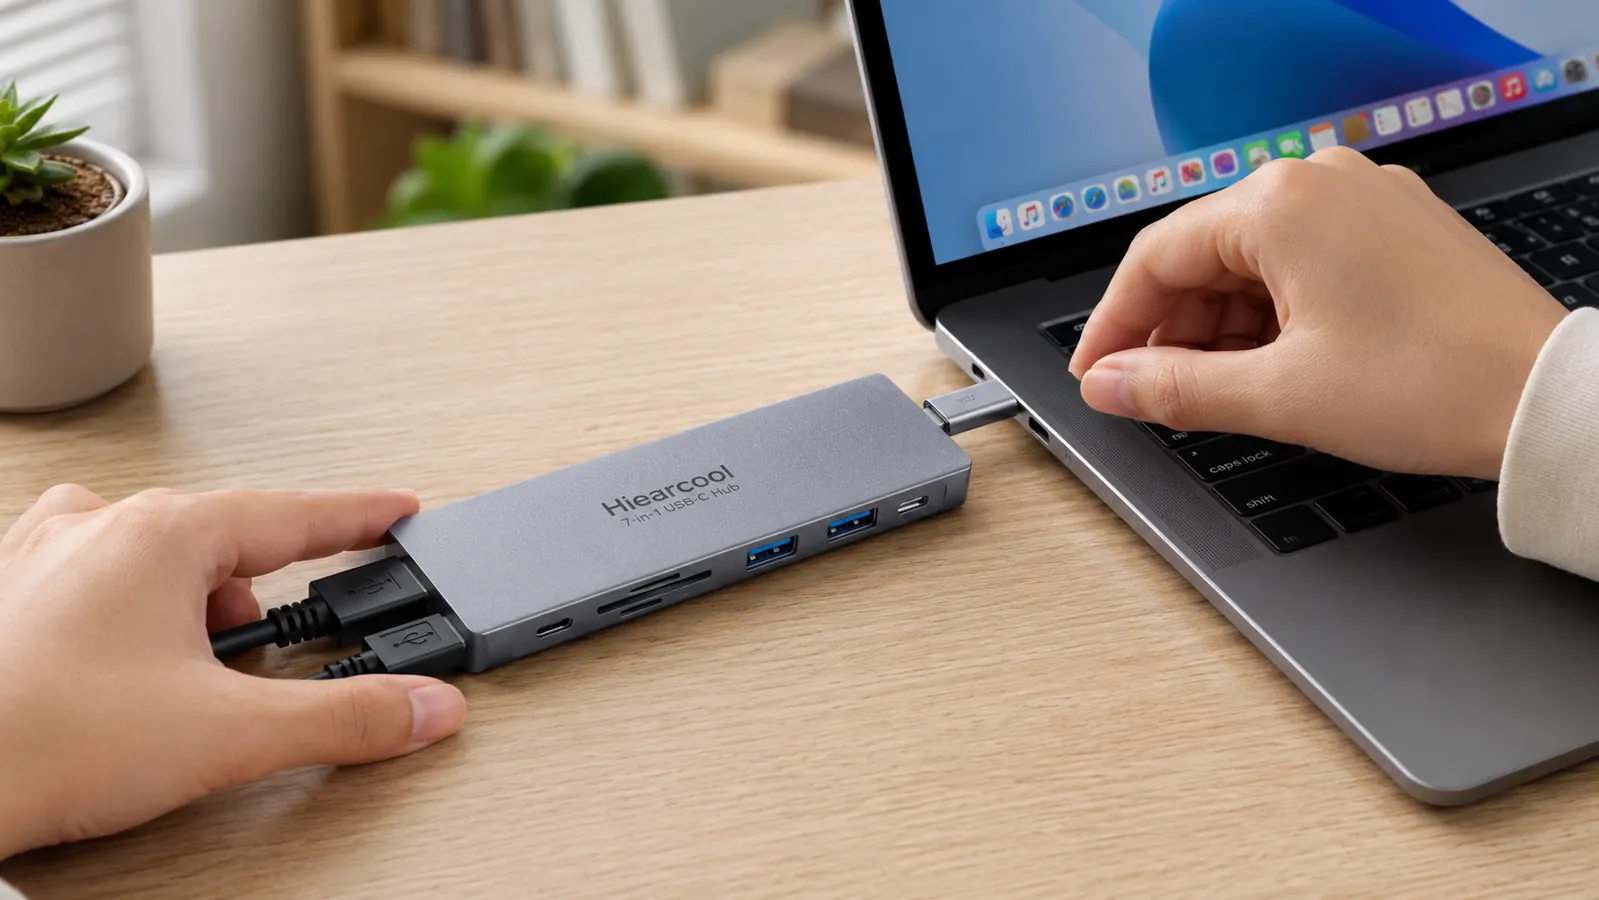
Running out of ports? The Hiearcool 7-in-1 hub adds HDMI, three USB-A, SD slots, and 100W charging to a single USB-C port.
With 51,637 reviews and a 4.6-star average, it is the most-tested budget hub for home office setups. Works with MacBook, Windows, and Chromebook out of the box.
Amazon Check Today's Price on Amazon →Step 1: Check What Your Laptop USB-C Port Actually Supports
Not every USB-C port outputs video. This is the single most common mistake people make. They plug a hub into the USB-C port on the right side of their laptop and then wonder why the monitor stays black. Some laptops have one USB-C port that does everything (power delivery, video, data) and a second that only handles data and charging. You need to plug the hub into the port that supports video output, also called DisplayPort Alternate Mode or Thunderbolt.
To check, look up your exact laptop model and search for its spec sheet or owner's manual. Under the USB-C port description, you want to see "Thunderbolt 3," "Thunderbolt 4," "USB4," or "DisplayPort Alternate Mode." On a MacBook, every USB-C or MagSafe port generation since 2016 supports video out, so you can use either port. On Windows laptops, it varies by model. Some budget laptops, like certain Lenovo IdeaPads and entry-level Dell Inspirons, have a USB-C port that does NOT support video output. Connecting your hub to one of those will get you keyboard, mouse, and charging, but the monitor port on the hub will not send a signal to the screen. Another quick way to check: if the port has a small lightning bolt or DisplayPort symbol printed next to it on the chassis, it supports video. If it shows only a USB symbol, it likely does not.
Once you confirm the right port, note which side of the laptop it is on. You will always plug the hub into that specific port going forward. If your hub cable is short, consider placing the hub on the same side of the desk as the video-capable port so the cable is not stretched across the bottom of the laptop.

Step 2: Plug the Hub Into Your Laptop and Let It Initialize
Take the Hiearcool hub and plug the attached USB-C cable directly into the video-capable port on your laptop. You do not need to install any drivers on Mac or Windows 10 or 11. The hub is plug-and-play. Give it five to ten seconds to initialize. On a Mac, you may see a brief screen flicker or the menu bar arrangement may shift slightly. On Windows, you may hear the standard device-connected chime. Both are normal and mean the hub registered successfully with the operating system.
At this stage, do not connect anything else yet. Just confirm the hub itself is recognized. On a Mac, go to Apple Menu, then About This Mac, then System Report, then USB. You should see the hub listed there as a USB device. On Windows, open Device Manager and look under Universal Serial Bus controllers. Seeing it appear there confirms the hub is working and you can start connecting peripherals. If you do not see it in either place, try unplugging and replugging once, or try the other USB-C port if you have not already.
Step 3: Connect Your Monitor via the HDMI Port
The Hiearcool hub has a 4K HDMI port. Take your HDMI cable and plug one end into the hub's HDMI slot and the other end into your monitor's HDMI input. Turn the monitor on and switch it to the correct input source using the monitor's own menu button. On most monitors, the default input is HDMI 1, so if the cable goes into HDMI 1, the image should appear without needing to dig through the on-screen display settings.
Once the image appears, you can decide how you want to use the external monitor. On a Mac, go to System Settings, then Displays. You will see both your laptop display and the external monitor listed. You can drag the display icons to match your physical arrangement, external on the left and laptop on the right, or whichever matches your desk layout. If you want to run the external monitor as your only screen with the laptop lid closed, that is called clamshell mode. To use clamshell mode, connect a keyboard and mouse through the hub first, then close the laptop lid. The Mac will automatically shift everything to the external display. On Windows, press the Windows key plus P to choose your display mode: Duplicate, Extend, or Second Screen Only. Extend is the most useful for productivity, giving you two separate screens to drag windows between.
The hub supports 4K at 30Hz or 1080p at 60Hz through its HDMI port. For most home office work, 1080p at 60Hz is the better choice because scrolling and animation feel noticeably smoother than at 30Hz. Only select 4K if your monitor is a true 4K panel and you are doing design, photo editing, or video work where the extra pixels matter more than frame rate.
Step 4: Connect Your Keyboard and Mouse via the USB-A Ports
The Hiearcool has three USB-A 3.0 ports. Plug your keyboard's USB-A receiver or cable into the first port and your mouse's receiver or cable into the second. Both should be recognized instantly, no setup needed. If you use a wireless keyboard and mouse combo that shares a single USB receiver, like the Logitech MK270 or the MK550, you only need one port for both devices, which leaves you two open ports for other things.
The USB-A 3.0 ports on this hub run at up to 5Gbps for data transfer. That is fast enough for any input device and also handles external hard drives and USB flash drives well. If you need to move large files from an external SSD or back up photos from a USB drive, you can plug it into the third USB-A port while your keyboard and mouse are in the other two. The hub handles all three simultaneously without any slowdown in normal home office use.
Step 5: Pass Through Your Laptop Charger via the USB-C PD Port
Here is the part most people miss when they first set up a hub. If you want to charge your laptop while everything else is connected, you need to use the USB-C Power Delivery pass-through port on the hub, not the port you used to connect the hub to the laptop. The Hiearcool has a dedicated 100W USB-C PD port for this. Plug your original laptop charger into that port on the hub, and the hub passes the power through to the laptop automatically.
A few details worth knowing here. The hub retains some of the incoming wattage to power itself, so if your charger is rated at 100W, your laptop will actually receive around 85 to 87 watts. For most laptops, including the 13-inch and 14-inch MacBook Pro and most Windows ultrabooks, that is enough to charge under normal workloads. Laptops with higher power requirements, like the MacBook Pro 16-inch running heavy tasks, may charge slowly under peak load but will not drain. Second, if your original charger is rated below 65W, the math gets tighter. With the monitor, keyboard, mouse, and charging all running at once, you may see the battery slowly drain instead of charge. In that case, plug the charger directly into the laptop and use the hub only for display and peripherals. The hub does not require the PD port to be in use to function.
One port in, everything connected out. The 7-in-1 setup turns a single USB-C into a full desk: monitor, keyboard, mouse, card reader, and charging, all running simultaneously.
What Else Helps
A few small additions make this setup cleaner and more reliable long term. First, cable management matters more than people think. When the hub is fully loaded, you have five cables coming out of it. A small adhesive cable clip mounted to the back of your monitor stand or the underside of your desk keeps the HDMI and USB cables from draped across your work surface. It takes about two minutes and costs almost nothing. Second, if your monitor sits on its included plastic stand, the screen is probably lower than ideal for your eye line. A monitor riser lifts it up and also frees up the space underneath for your keyboard when it is pushed back. A laptop stand at similar height helps if you are using both the laptop and external monitor screens side by side, reducing the angle your neck turns between the two.
If you need more than what the hub provides, specifically if you want to connect two external monitors at once or need more than 100W of charging power, that is when a Thunderbolt docking station makes more sense. Docking stations run $80 to $200 and use a full Thunderbolt 4 connection to support dual DisplayPort or HDMI outputs at full resolution. For most single-monitor home office setups, though, the Hiearcool hub handles everything and costs a fraction of that. You can read the detailed comparison in the USB-C hub vs docking station breakdown if you are still deciding which direction to go.
If you want to go deeper on the Hiearcool hub itself, including how the 4K HDMI output performs under sustained use and whether the power delivery actually holds up, the full Hiearcool USB-C Hub review covers all of that with real test results. The short version: for a one-monitor home office setup with standard peripherals, it does everything it promises and the build quality holds up well over months of daily use.
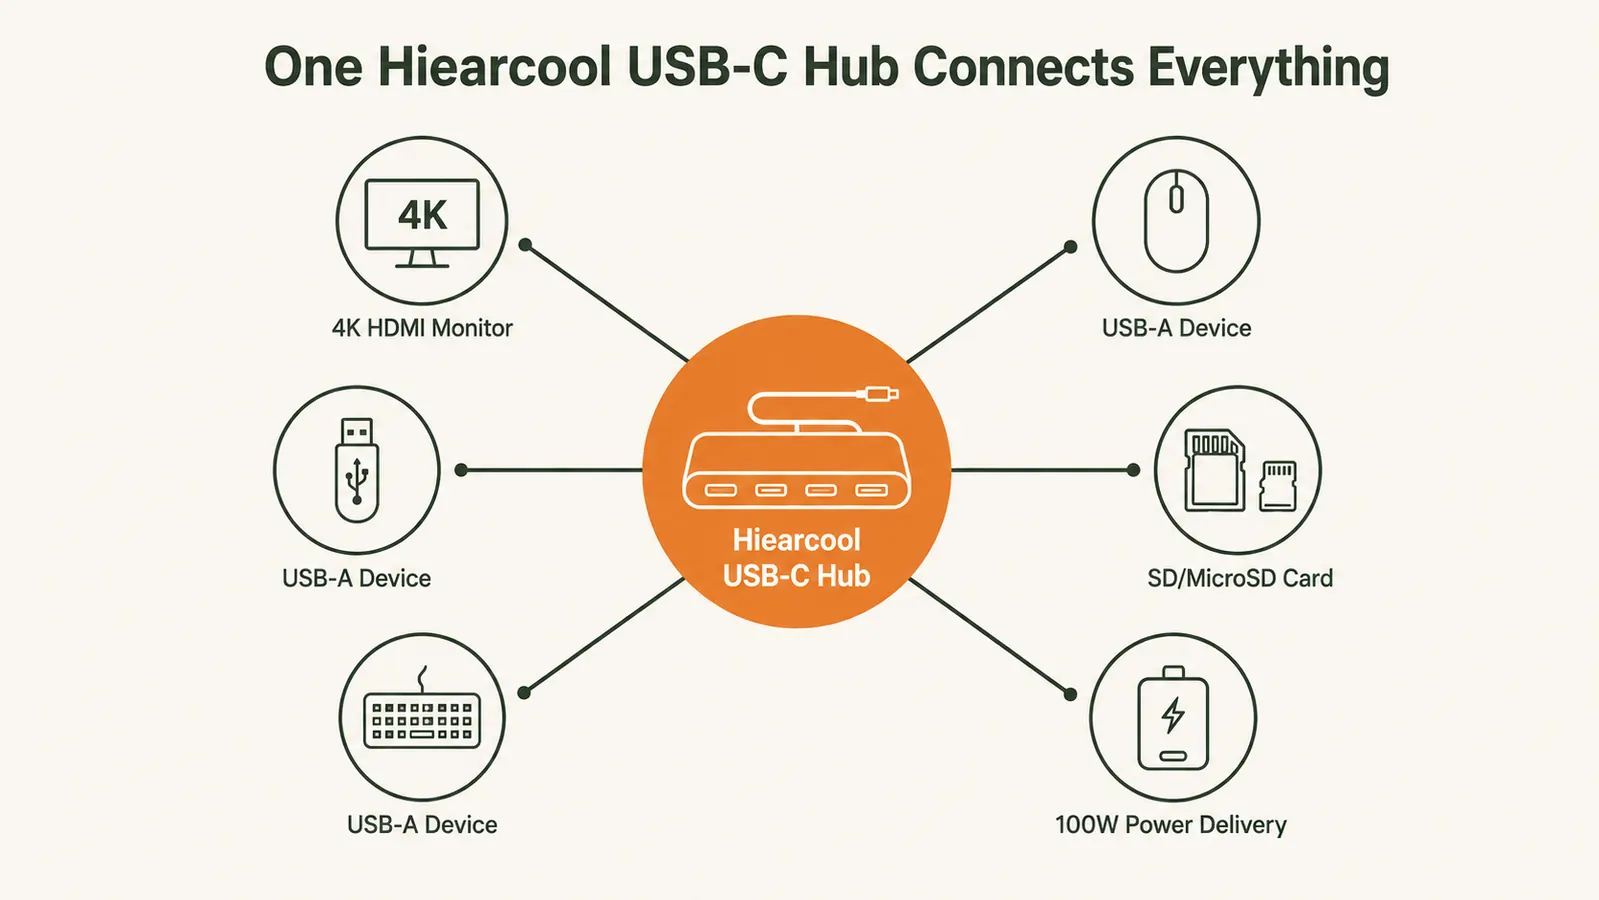
Ready to turn one USB-C port into a full desk setup? The Hiearcool 7-in-1 hub connects everything in a few minutes.
HDMI out to your monitor, three USB-A ports for keyboard, mouse, and storage, a dedicated 100W PD port for charging, plus SD and microSD slots for camera cards. One hub, one cable to your laptop, everything working.
Amazon Check Today's Price on Amazon →