If your neck aches by mid-afternoon and your upper back is stiff by Friday, your laptop setup is almost certainly the cause. Most people who work from home park their laptop flat on the desk, lean forward to read the screen, and call it a workstation. That posture puts your neck at a downward angle for six, eight, sometimes ten hours a day. Over weeks and months, that adds up to real pain, and the fix is not a new chair or a standing desk. It is raising your screen to eye level and putting your hands on a separate keyboard. That is it. This guide walks you through exactly how to do it.
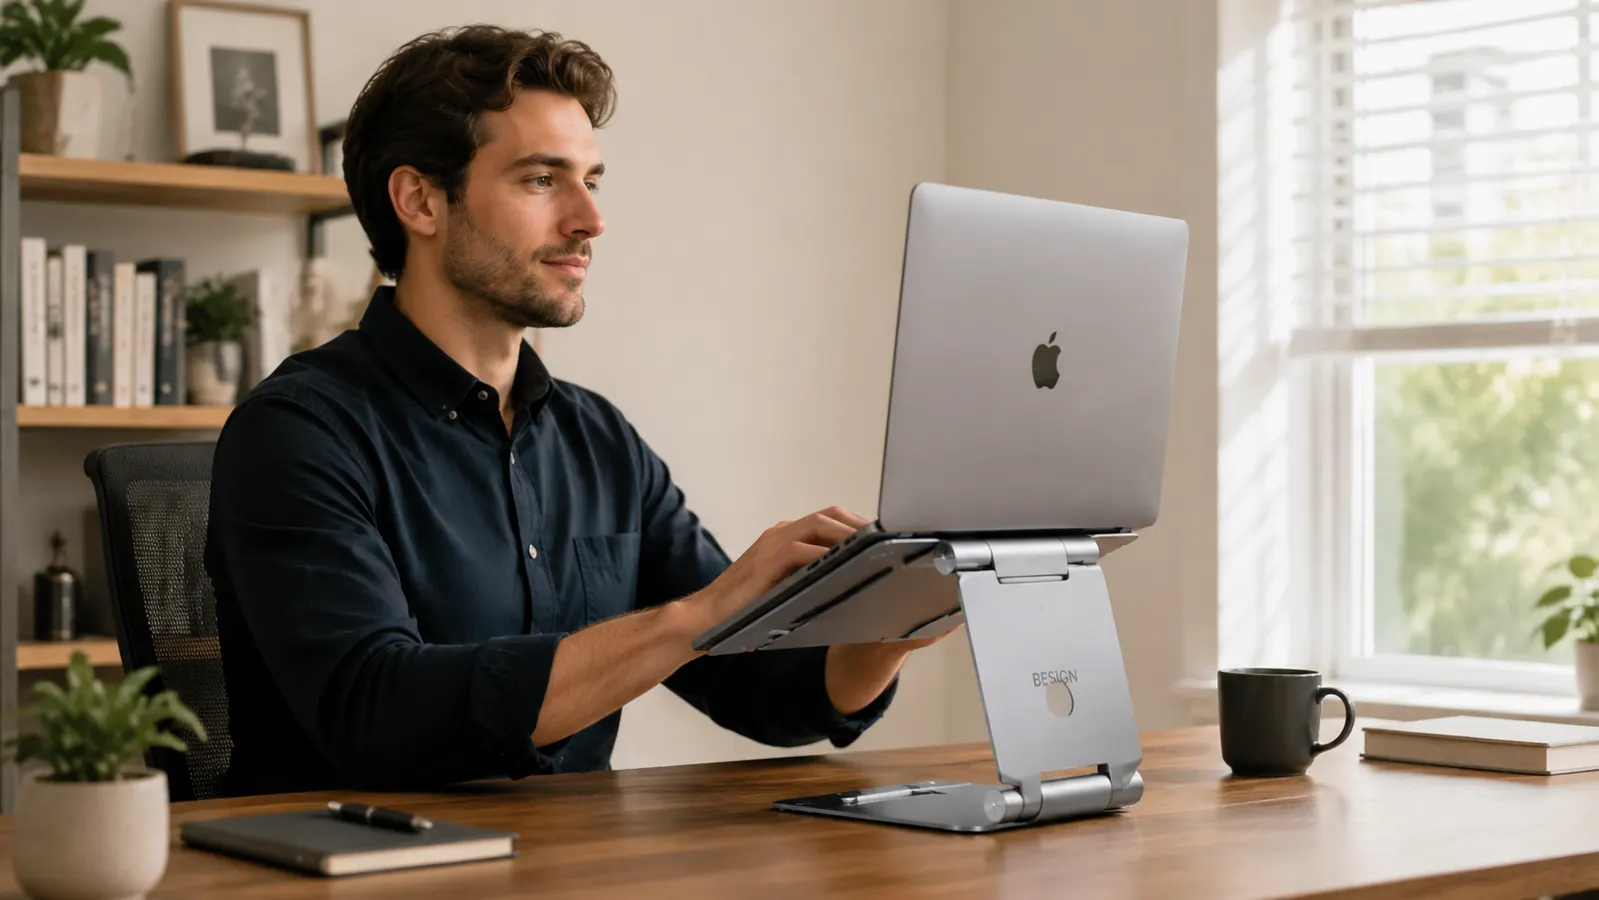
The core tool you need is a laptop stand. Once the screen is at the right height, everything else in the setup falls into place quickly. I have been using the BESIGN LS03 aluminum stand for the past several months on a standard 60-inch desk, and it has become the single upgrade I recommend first to anyone setting up a home office on a budget. It costs less than a tank of gas, takes two minutes to set up, and the difference in how your neck and shoulders feel at the end of the day is immediate.
Your neck is at the wrong angle right now. Here's the fix for under $20.
The BESIGN LS03 aluminum laptop stand raises your screen to eye level in seconds. Rated 4.8 stars by 23,000+ buyers. Compatible with laptops from 10 to 15.6 inches.
Amazon Check Today's Price on Amazon →Step 1: Raise Your Screen to Eye Level
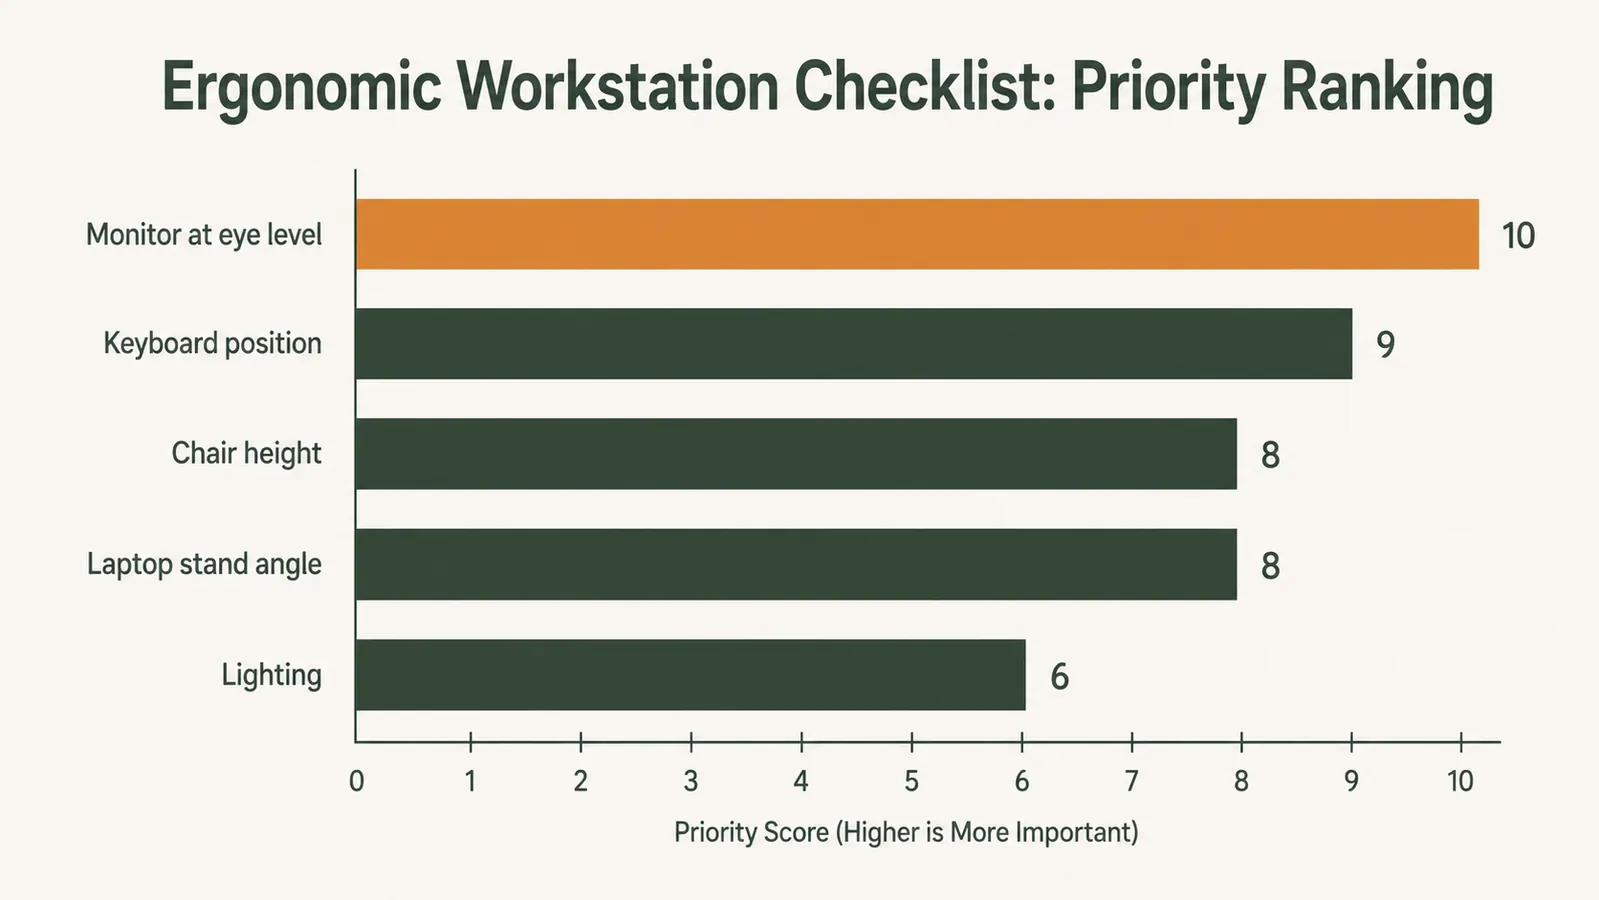
The single most important change you can make to your laptop setup is getting the top of your screen roughly at or just below your natural eye line when you are sitting upright. When your screen is flat on the desk, you are looking down at an angle of 30 to 45 degrees. Your head weighs about 12 pounds at neutral. At a 30-degree forward tilt, the effective load on your cervical spine jumps to roughly 40 pounds. Do that all day and you understand why your neck hurts.
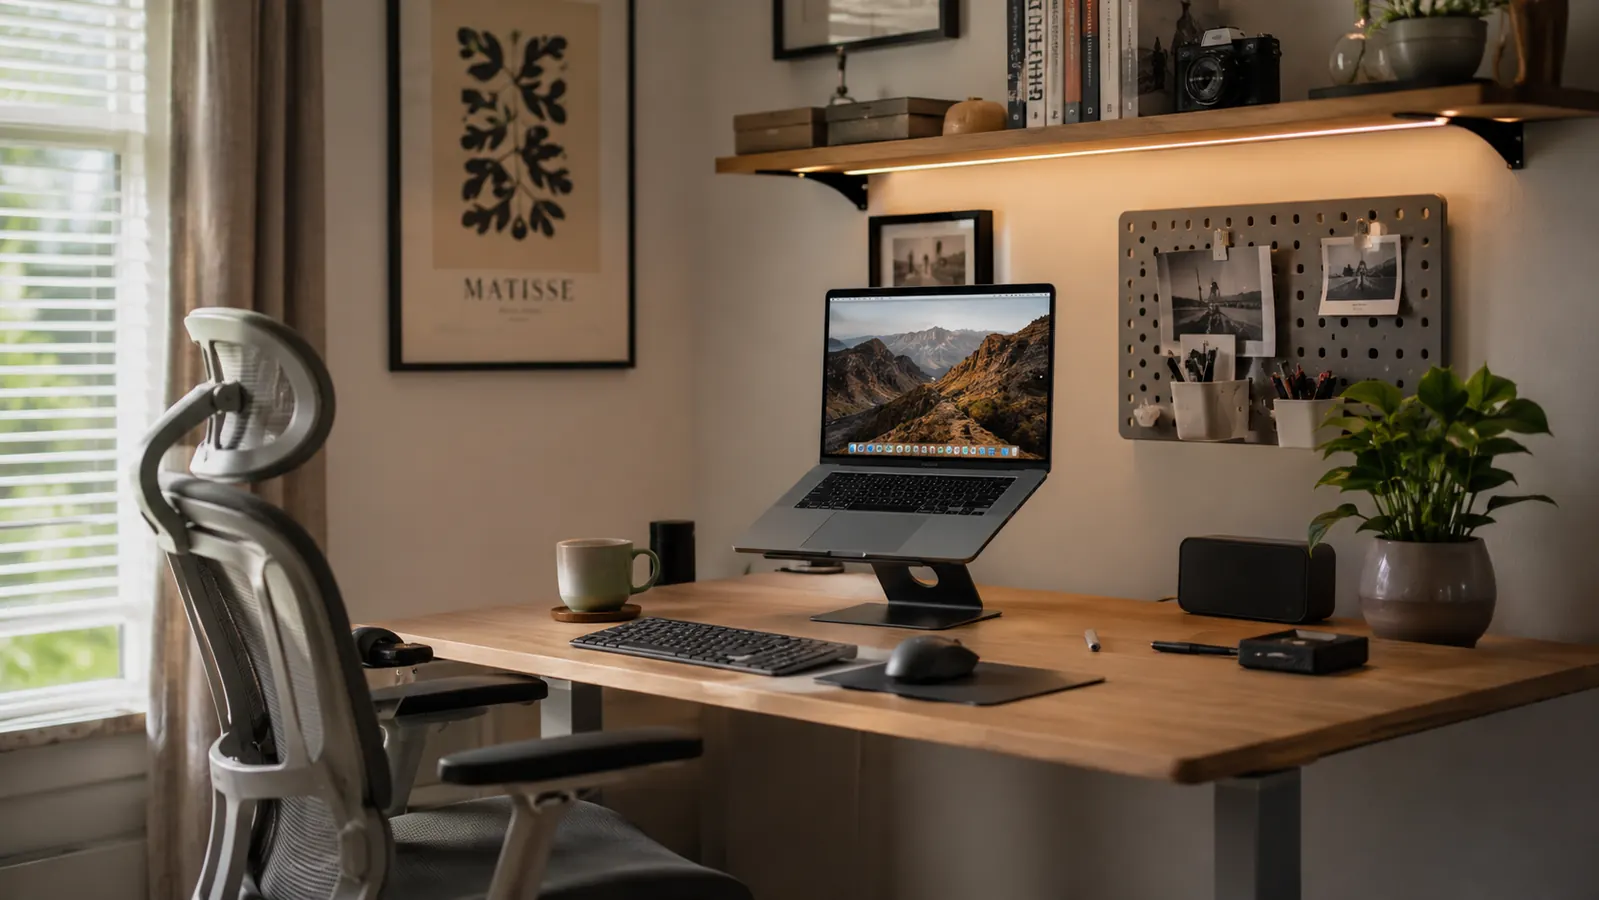
A laptop stand solves this by elevating the screen 4 to 6 inches off the desk surface, bringing it up to a height where you can sit straight and look forward rather than down. The BESIGN LS03 holds the laptop at about a 30-degree tilt, which puts a standard 15-inch laptop screen right around eye level for most adults sitting in a standard office chair. If you are taller or shorter, your chair height matters too. Adjust the chair so your feet are flat on the floor, your hips are at roughly a 90-degree angle, and then check where your eye line lands relative to the screen top.
Setup takes about two minutes. Unfold the two side arms on the BESIGN LS03, slide your laptop into the cradle, and you are done. The rubber pads grip the laptop base and the desk surface, so nothing slides around. The aluminum frame feels solid under a 15-inch MacBook Pro or a heavier Windows machine. There is no assembly beyond unfolding.
Step 2: Add an External Keyboard and Mouse
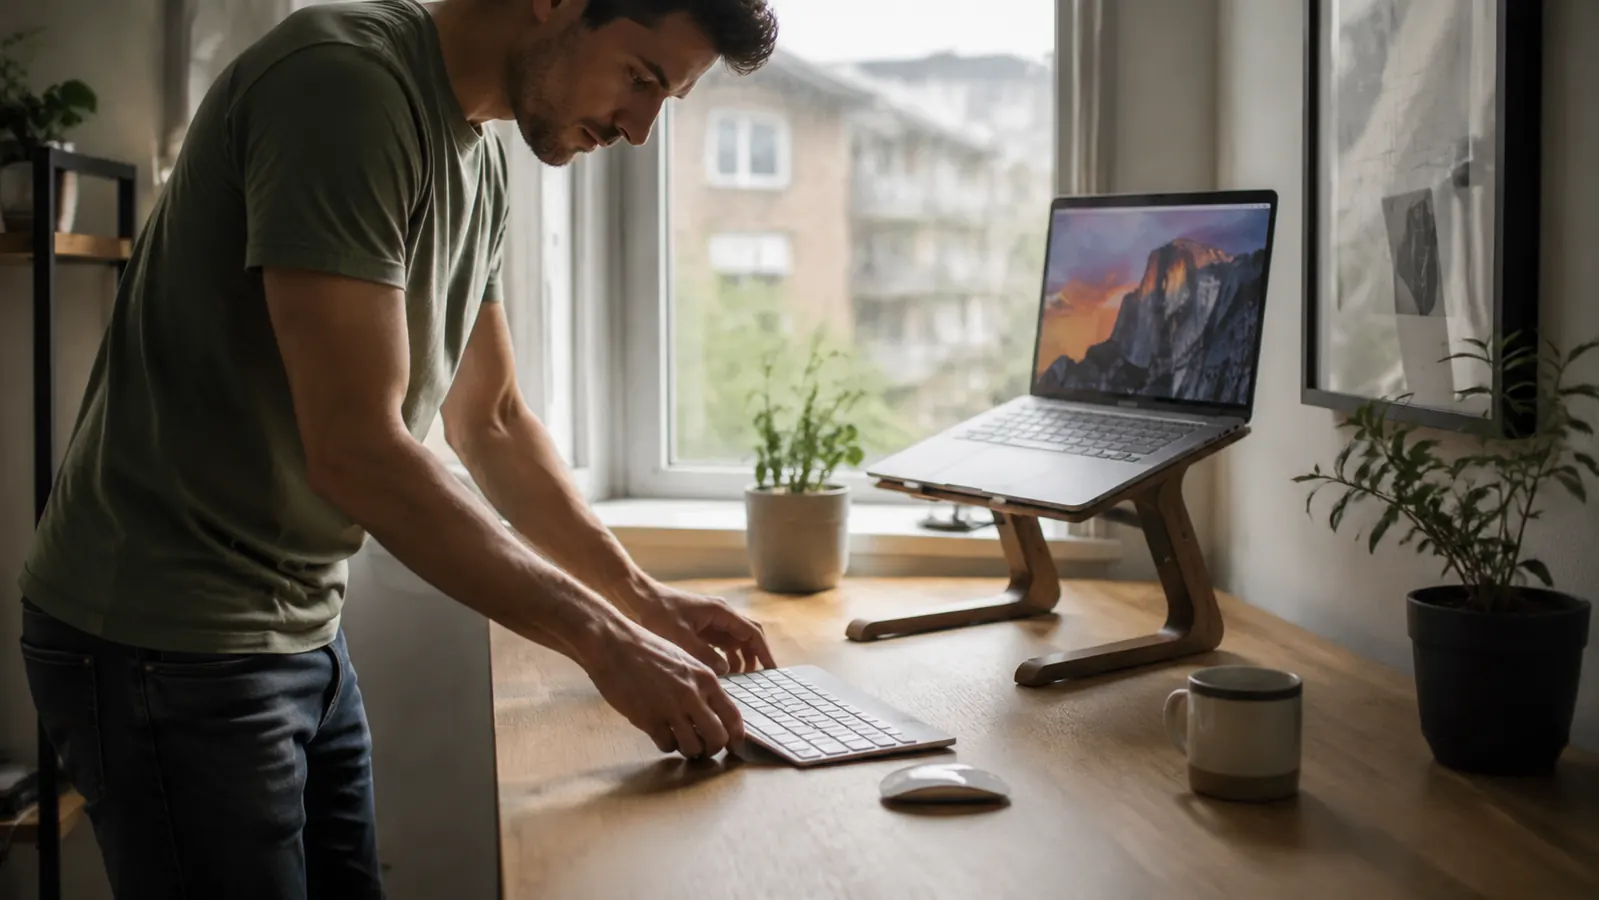
Once your screen is elevated, you can no longer type on the laptop keyboard without reaching up at an awkward angle. This is intentional. You need a separate keyboard and mouse sitting on the desk at elbow height. This is not optional if you want the ergonomics to actually work. The good news is that a decent wireless keyboard and mouse combo costs $25 to $40 and you only buy it once.
Position the keyboard so your elbows are bent at about 90 degrees and your wrists are flat or very slightly angled downward when you type. Your mouse should be right beside the keyboard at the same level. Reaching up, out, or across your body to use a mouse is one of the most common causes of shoulder and wrist strain in home office setups. Keep both input devices close and centered.
If you are on a tight budget, even a $20 wired keyboard is fine for this step. The point is that your hands are at desk level and your screen is at eye level. Once both of those conditions are true, your spine can return to its natural position and your muscles stop fighting gravity all day.
Step 3: Sort Your Cable and Port Situation
Modern laptops, especially thin ones, often have only one or two USB-C ports. Once you add an external keyboard, a mouse dongle, and a monitor or second display, you run out of ports quickly. A compact USB-C hub is the cleanest solution. One cable from the hub goes into your laptop, and everything else plugs into the hub: keyboard, mouse receiver, HDMI out, SD card reader, whatever you need.
Keep the hub to the side of the laptop stand rather than behind it, so cables stay short and tidy. Route any cords underneath the stand or toward the back of the desk with a simple cable clip. The goal is not perfect cable management, just keeping the visible surface of your desk clear enough that it does not add visual clutter to your workday. A clean desk genuinely helps you focus.

Step 4: Position Your Chair for Neutral Spine Alignment
The stand does most of the work, but your chair height determines whether the screen is actually at eye level or not. Start from the floor up. Feet flat on the floor, or on a footrest if you are shorter. Knees at roughly 90 degrees. Hips back in the seat, not perched on the edge. Lower back supported, either by the chair's lumbar curve or a separate lumbar pillow if your chair is flat.
From that seated position, roll your shoulders back, sit tall, and look straight ahead. That is where your screen should be. If the top of the laptop screen is significantly above your eye line, lower the chair slightly. If it is well below, raise the chair and consider adding a small cushion under the stand to bring the screen up further. The BESIGN LS03 does not have height adjustment beyond its fixed tilt angle, which is the main trade-off compared to a monitor arm. For most people at standard desk and chair heights it sits right, but it is worth checking before you call the setup done.
Once your screen is at eye level and your keyboard is at elbow height, you stop fighting your setup. Your body can just work.
Step 5: Set Up Your Lighting So Your Eyes Stop Straining
Eye strain at the end of the day is usually a lighting problem, not a screen problem. The two main culprits are glare on your screen and a big contrast difference between your bright screen and a dark room. Both are easy to fix without buying an expensive monitor light or changing your room setup dramatically.
First, position your desk so the main window is to your side, not behind or in front of you. A window directly behind you throws glare on your screen. A window directly in front of you creates a bright background that makes your screen look dim by contrast, causing you to squint. Side lighting is the neutral position. If you cannot change your desk orientation, a cheap window shade or a monitor hood solves the glare issue for a few dollars.
Second, make sure your ambient room light is bright enough that your laptop screen is not the brightest object in the room. Working in a dark room with a bright screen is what causes that gritty, dry feeling in your eyes by late afternoon. A standard desk lamp on the opposite side from your window fills in the shadows and levels out the brightness differential. Adjust your screen brightness down to match your room light rather than cranking it to maximum.
What Else Helps
The five steps above handle the structural setup. Once those are in place, a few smaller habits compound the benefit. Take a real break every 60 to 90 minutes, meaning stand up and move away from the screen, not just lean back. Set a recurring timer if you have to. Even two minutes of walking around the house is enough to reset your posture and reduce the cumulative load on your spine from sustained sitting.
If you have a second monitor, the same principles apply. Put it on a riser so the top of the screen is at eye level. Position it directly in front of you if it is your primary screen, or just to the side at roughly the same height if you split time between both. Avoid setups where one screen is high and one is low, because your neck spends the day toggling between two different angles and neither one is neutral.
For more on choosing between a laptop stand and a full monitor arm, my comparison article covers the honest trade-offs: when a stand is enough and when the extra investment in an arm actually makes sense. And if you want to understand what makes the BESIGN LS03 the specific stand I recommend in this price range, the full review covers the build quality, stability, and the cases where you might want something else instead. Both are worth reading if you are still deciding on your exact setup.
One thing most people skip is the placement of their laptop stand relative to the desk edge. Pull it back far enough that your external keyboard fits between the stand and the front edge of the desk with two to three inches to spare. If the keyboard is jammed right at the edge, your elbows end up unsupported and hanging in the air, which puts a continuous load on your forearms and shoulders. Give yourself room to rest your forearms on the desk when you are not actively typing.
Ready to fix your laptop height today? The BESIGN LS03 is the fastest way to start.
Aluminum build, rubber grip pads, works with 10-15.6 inch laptops. Under $20 and sets up in two minutes. The most common first upgrade recommended for home office ergonomics.
Amazon Check Today's Price on Amazon →